


In this lesson, you learn to check your spelling, reference other pages with doclinks, and add information for the reader in popups.
Notes provides a spell checker that you can use to make sure your documents are presentable to others on the network. To check your spelling, follow these steps:
 You’re in Luck!
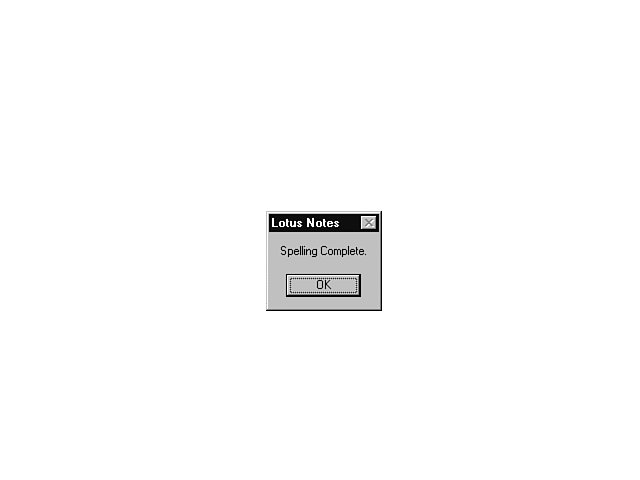
If Notes does not find any misspellings, it displays a message that says No Misspellings Found. Click OK to continue editing your document.
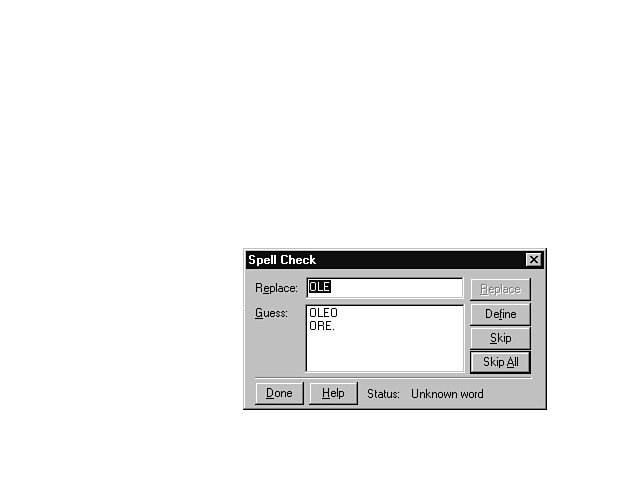
Type the correct spelling in the Replace text box and click Replace.
Select the correct spelling from the Guess list box and click Replace.
Click the Define button to add the word to the dictionary so Notes doesn’t question the spelling again.
Click the Skip button to ignore this particular occurrence of the word.
Click Skip All to ignore all occurrences of this word in this document.
Click Done to quit the spell check.
Sometimes you’ll find that several of your documents contain related information and the reader would benefit from viewing both documents. You can include a reference, or doclink, to one document within another document. Then by double-clicking the doclink, the reader can open and view the second document. You can add doclinks to documents within the same database or in different databases.
To reference a document, follow these steps:
LinkThe word “link” comes from the longer “hyperlink,” a term used in programming long before Windows. Both refer to a live connection between two or more documents. When documents have a live connection and the text in the source document changes, the linked text in the destination document is automatically updated to reflect the change.
Document SwitchTo switch to another document, open the Window menu, choose the name of the database, and open the second document. (Or you can select the name of the document from the Window menu if the document is already open.)
 Delete Doclink
You can delete a doclink by positioning the insertion point in front of the document icon and pressing the Delete key. You cannot undo a doclink deletion, but you can paste the link again.
To open a doclink within a document, just double-click the doclink icon. The second document opens immediately. When you finish reading it, choose File, Close to return to the original document.
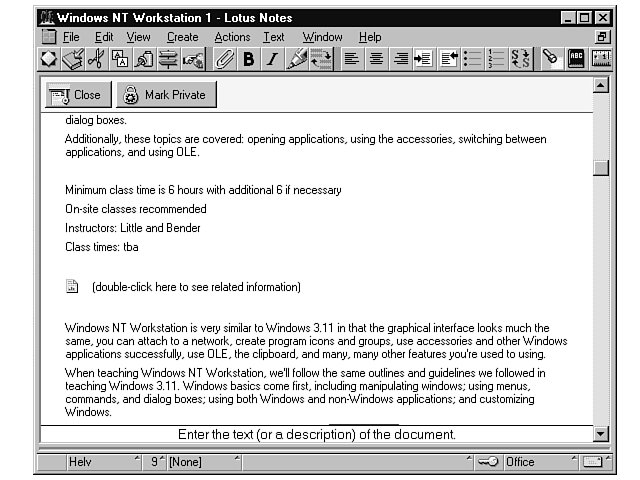
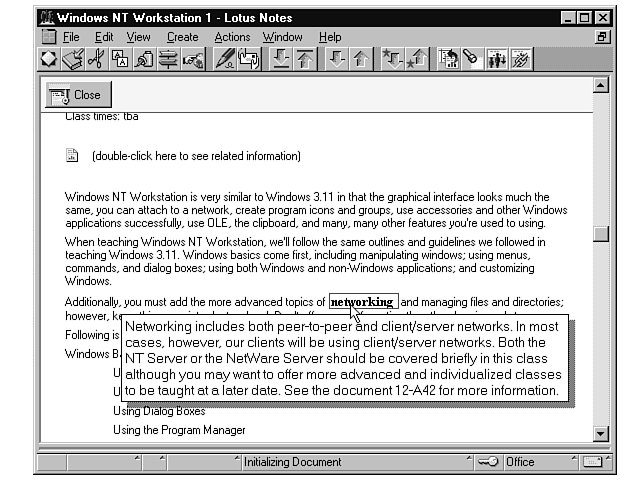
Suppose you’ve placed a proposal document in a network database, and you want to provide an explanation of a process you mentioned that you don’t know if everyone on the network will know about. You can add extra information—such as a definition or an explanation of text—to a document by using what Notes calls a popup. Popups are brief messages that appear when the reader clicks on a marked area of text. Figure 21.4 shows a text popup in a document.
Follow these steps to add a popup to your document:


To view a popup, the reader clicks on the marked text. The popup remains on-screen as long as the reader holds the mouse button.
In this lesson, you learned to check your spelling, create a doclink reference, and add a text popup to a document. In the next lesson, you will learn to manage document groups.