


-by Kelly Murdock
If you've thumbed through the book, you've seen the different examples of 3D elements that can enhance your Web site. If not, then go ahead and thumb through it now to look at some of the images. Every image you see in the book can be used in a Web page. Some of the techniques may look a little difficult, but they really aren't. Creating 3D graphics isn't difficult, although it can be tricky. The purpose of these first two chapters is to show you quickly that this book can unlock possibilities and to get you over any intimidation you might have about creating graphics. This is how this chapter will progress:
Once you get this site up and looking good, Chapter 2, "Up and Running: First VRML Creation," extends it with a VRML world. At the end of these two quick-start chapters, you'll have a state-of-the-art 3D site.
I was in Bubsy's showroom the other day examining his new line of convertible dump trucks when talk turned to the Web. Bubsy was anxious to establish a Web presence for his business and asked if I could help. I accepted the challenge, and the results of Bubsy's Sport Car and Heavy Machinery Web site follow.
Bubsy has been in the business of selling vehicles for some time and has some definite ideas about what should go on the Web site. After considerable deliberation, we agree on the plan for the Web site and intend to include the following structure:
Each page should have icons at the bottom of the page that link to the other pages to help you move around Bubsy's site. Now that you have a rough plan, move on to building the site by starting at the title page.
The title page is usually the first page the visitor sees. It's the first chance you have to show off your 3D wares. For this site, you want to include the company name in 3D text, present a 3D background, add navigation buttons, and include a rendered animation of Bubsy welcoming visitors to the site.
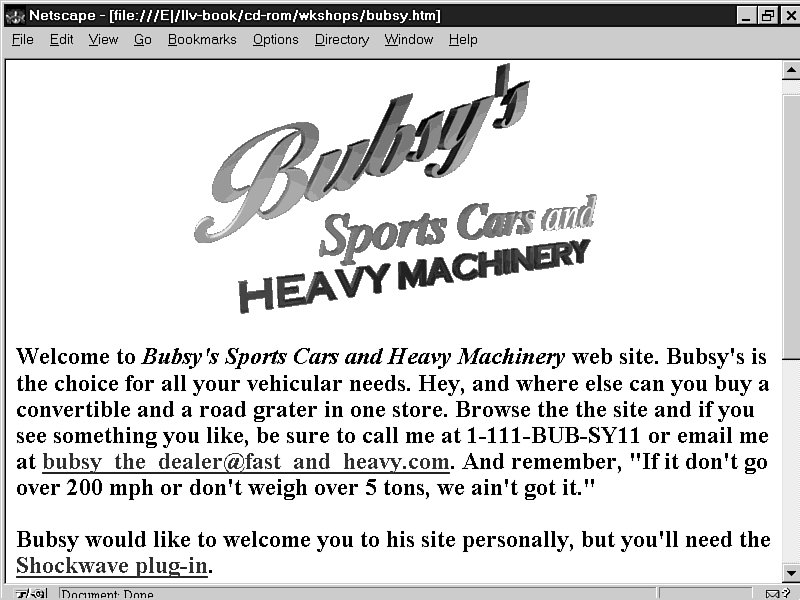
Bubsy doesn't really have a logo. In fact, everywhere the name is mentioned, it looks different, so Bubsy thought it would be a good idea to present his company name as 3D text.
The size of the image needs to be rather large to get all the words in and to make it readable, but you don't want to blank out the background, so use a transparent GIF image:
| Caution |
You should usually embed your 3D images as JPEG files. JPEG is better at subtle color changes, which are common for 3D images. Notice how the colors in the Bubsy title look kind of splotchy and how the edges are ragged. But if you want transparency, GIF is the only option for now. |
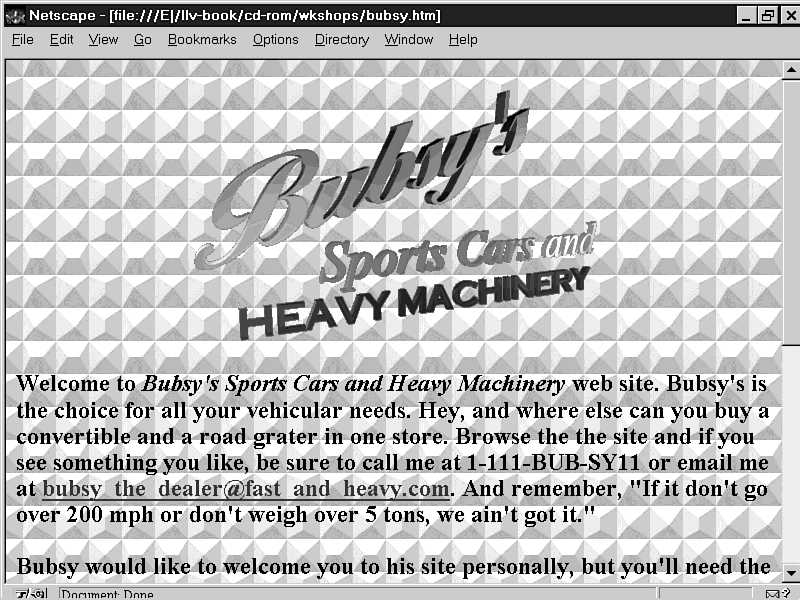
Backgrounds are a two-edged sword. They can effectively hide some ragged edges caused by making 3D images transparent, but when they have too much detail, they can make the text on the page illegible. For the background on the title page, I did the following:
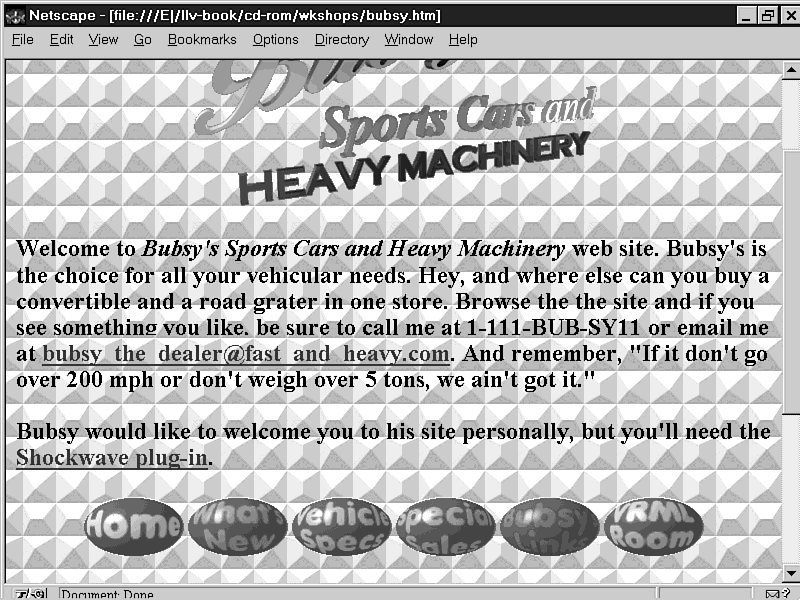
Now that the title page is shaping up, you need some links to guide visitors into the site. According to the plan, there should be five buttons that appear on every page in the site.
| Note |
I've used Photoshop throughout this example, but I could just as easily have used Paint Shop Pro or any other image-editing software. |
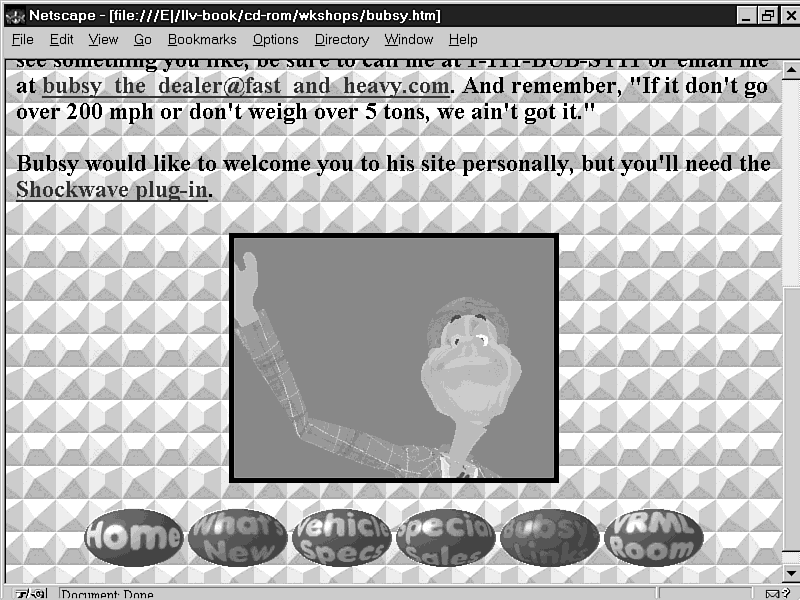
One thing about Bubsy is that he has a large ego. He insisted that he be placed on the home page to personally welcome visitors to his site. However, he won't let anyone take a video of him, so I created a 3D character to do the introduction animation. It's a good thing Bubsy has a cartoon-like face.
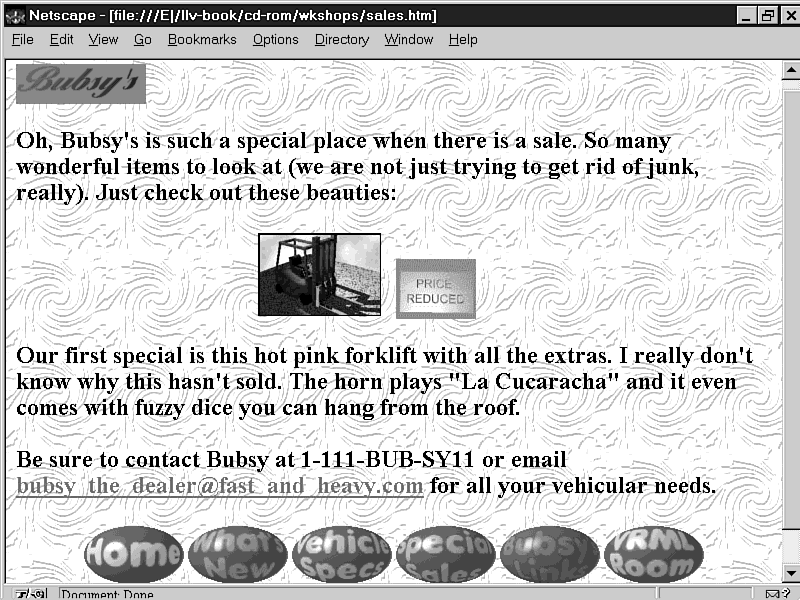
The core of the Web site is where you present your products. Bubsy wanted these split between three different pages: the What's New page, where the latest and greatest can be found, the Vehicle Specification pages, where the bulk of the items will go; and the Special Sales page, where discounted vehicles are highlighted.
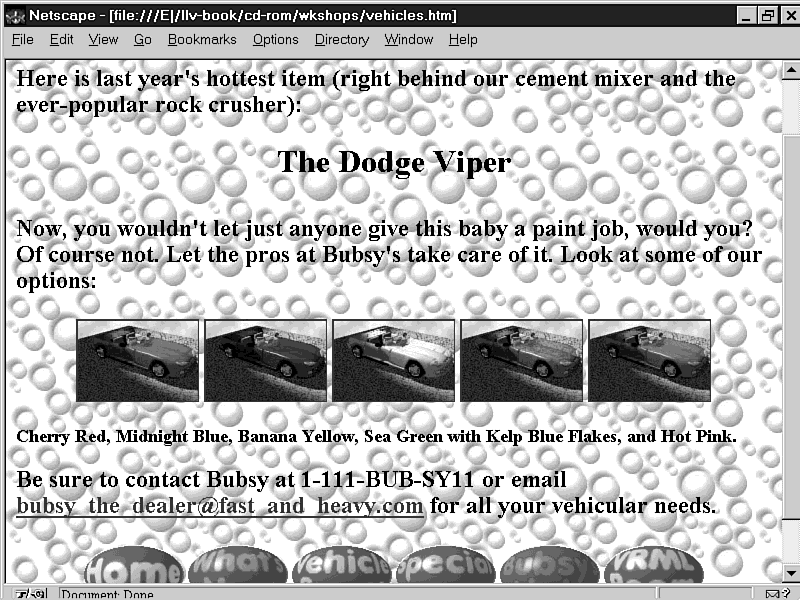
Each of these sections has the Bubsy logo and the navigation buttons, but the new element will be the 3D images of the vehicles. Bubsy also earns some revenue by offering his customers custom-paint jobs, so you naturally want to show this to the site visitors.
Using thumbnails, you can present many examples without taking up too much bandwidth, as shown in Figure 1.5. The thumbnails all link to larger images.
Figure 1.5: 3D images added to Bubsy's products page; the thumbnail images link to larger images.
When you go into a showroom to look at cars, you usually wander around the car to view it from all sides. With animations on your site, you can simulate this experience. Rotating a 3D object to create an animation is fairly painless, but embedding it is another story.
There are many ways to embed animations in your Web site; several will be covered here. If you don't like any of these methods, then just wait-new methods are showing up all the time. For the vehicle demonstrations on Bubsy's site, I decided to use Shockwave movies. They work about the same way as Bubsy's introduction animation.
Another way to add small animations is using GIF animations, which were used on Bubsy's Special Sales page:
When using GIF animations, it's important to remember not to place too many on one page, not to use large images, and not to use too many frames. Small files like the ones in Figure 1.6 are just about right.
The completed Bubsy site can be viewed on this book's CD-ROM. It's a rather small site but has enough to show you a sampling of what this book will enable you to do. Bubsy's not done with you yet, though. In the next chapter, you'll add a VRML showroom to Bubsy's site.
Boy, Bubsy is demanding. Not only did he get me to work on his site, but he managed to get my co-author to add a VRML showroom as well.
| What kind of tools did you use to create these 3D images? Are they affordable? | |
| I must admit, I did use some expensive tools in the process of creating this example, but not as expensive as I could have. In the 3D world, tools such as Ray Dream Studio and trueSpace are real
bargains at around $500.
The CD-ROM that goes with this book has a number of good demos that will let you play with these tools to help you decide whether they're right for you before you lay your money down. appendix A, "3D Software Resource Guide," is another reference that can help you see what kinds of tools are available. If you're still not satisfied, try checking out the shareware scene. There are several shareware and freeware programs that will help you get started. The book's CD-ROM is full of these kinds of programs. | |
| I've been working in 3D for a long time, and it seems that it would be a lot of work to put my existing images and animations on the Web. Is there an easier way? | |
| If you don't like the way something is done on the Web, then check back in about three months. The Web is continually changing and improving. Currently, it's somewhat difficult to get 3D content on the
Web; that's why this book is being published.
Easier methods for publishing 3D are in the works by several different companies. One to watch is Shockwave for Extreme 3D, which will make it possible to embed your existing 3D work easily into your Web pages. Tools like that will make this book and a lot of headaches disappear, but I'm not worried-there will still be plenty to write about! |