


In this lesson, you learn to open your mailbox, select a message, read the message, answer mail, and close the message.
When you have new mail, Notes displays a message in the Status bar to notify you. Your mailbox is a database stored on the server and accessed via the network.
 Database
A collection of related documents that you can access.
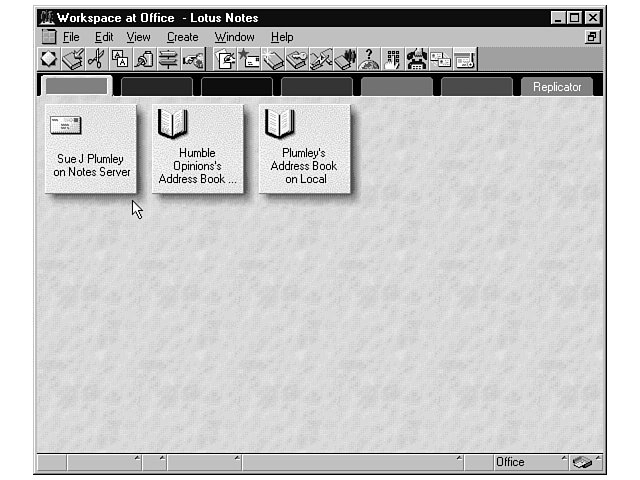
Your mailbox is usually on the first workspace page, and you can open it and read the mail whenever you want. To open your mailbox, follow these steps:
 Is It Selected?
When your mailbox is selected, it looks like the button is pressed in.
 No Mail?
If you do not see mail, but you know you have mail waiting, click on Inbox in the navigation pane of the mailbox.
The mailbox consists of two panes and an action, or tool button, bar. The active view pane (on the right) displays your mail messages. You can see who sent the message, the date he or she sent it, and the subject he or she assigned to it.
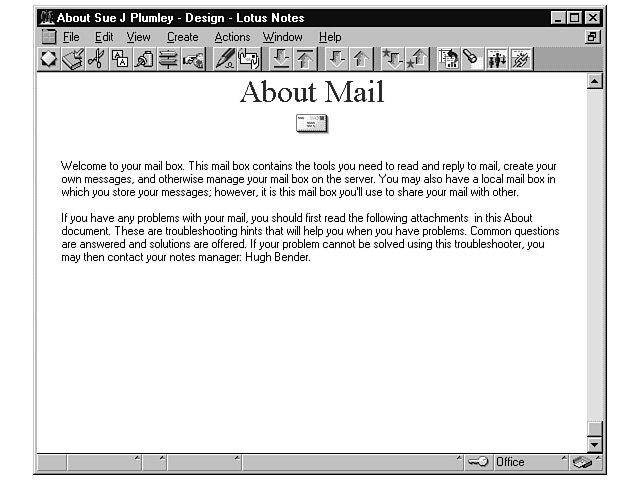
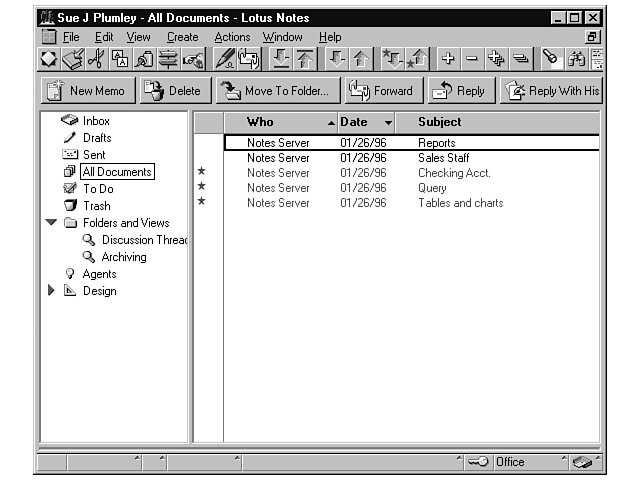
The tool button bar contains command buttons that perform tasks related to the procedure. For example, when you’re looking at your incoming messages, you can click one of these buttons to delete a message or reply to a mes sage. The tool buttons change depending on which view you’re in.
The navigation pane (on the left) lists the views you can use to manage your mail at different stages. Table 5.1 describes the views listed in the left pane of the mailbox.
| View | Description |
|---|---|
| Inbox | Stores mail that has been sent to you. |
| Drafts | Stores mail messages you’re working on but have not sent yet; also contains any mail you create but choose to save as a draft. |
| Sent | Stores copies of messages you have sent (if you choose to keep a copy of the messages). |
| All Documents | Displays all messages, including those you’ve sent, received, saved in folders, and so on. |
| To Do | Displays the tasks you've created, who assigned the task, the due date, and to whom the task is assigned; also shows priority assignments of 1, 2, or 3. |
| Trash | Holds deleted messages until you empty the trash or remove the message from the trash. |
| Folders and Views | Provides access to folders in which you can save various messages, discussions, and other important mail you receive. |
| Agents | Contains preset, automatic tasks such as backups and deletion of expired messages. |
| Design | Offers various templates for use in creating documents. (See Lesson 16 for more information.) |
 Down Arrows
The down arrows in the navigation pane (beside Folders and Views and Design) reveal or hide additional items relating to the topic . Click the arrow to show related topics; and then click the item again to hide the topics.
Before you can read, delete, print, or otherwise manipulate a mail message, you must first select it. One message is already selected when you open your mailbox. The selec ted message has a rectangle (usually black) around the name, date, and subject of the message. That rectangle functions as a selection bar.
To select a different message in the list, click on the message, or use the up and down arrows to move to it. To select multiple messages, press and hold the Shift key and click on the messages. A check mark appears to the left of each selected message .
You can select any message in your Inbox to read at any time. To read a mail message, double-click on the message, or right-click on it and choo se Open from the shortcut menu. Figure 5.4 shows an open mail message.
Every mail message, or memo, contains the following elements:
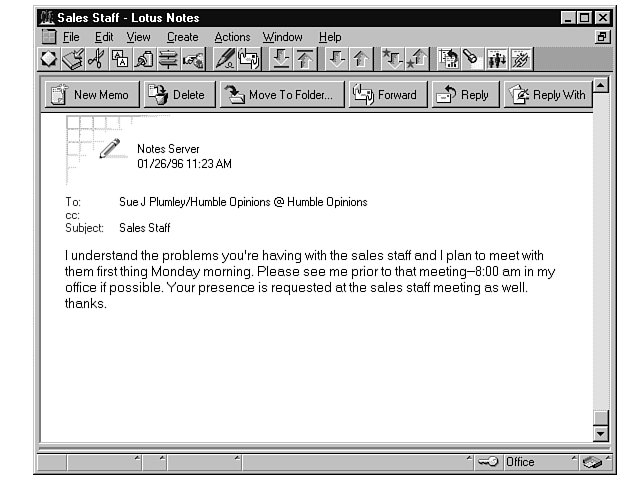
The rest of the message is the body, which is made up mostly of text but can also contain graphics (pictures), tables, and other items. A message can be as short as a word or two, or as long as 21,000 paragraphs. The length of the message is limited, o f course, by your computer’s memory. If you cannot view all of a message on-screen at once, use the vertical scroll bar or the Page Up, Page Down, and arrow keys to view more of the message.
 Shortcuts
You can press Ctrl+End to go to the end of a long message or Ctrl+Home to go to the beginning of a message.
After you’ve read your mail, you can choose from various options. Often, you will want to reply to your mail mes sage. To reply to a mail message, follow these steps:
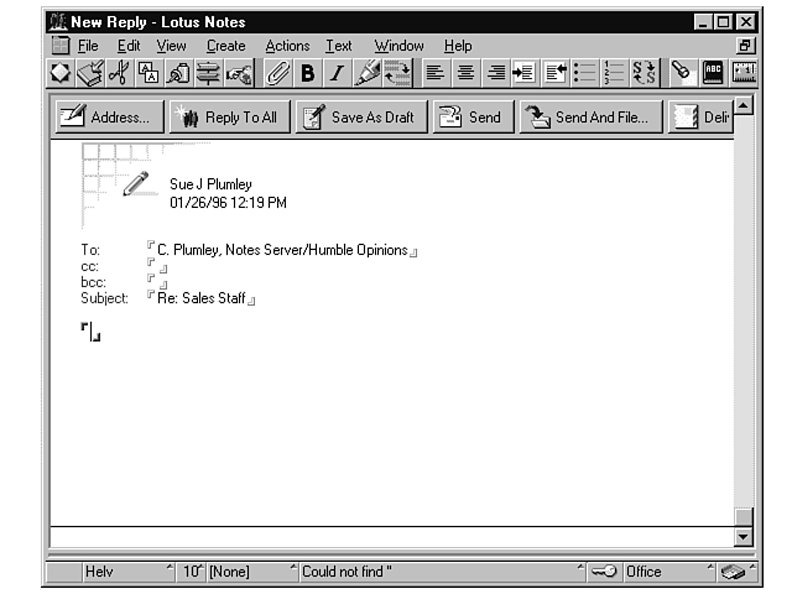
When you reply to or forward a message, Notes closes the message automatically when you se lect Send (however, you still have to close the original message). If you choose not to reply to the message at this time, you must close it to return to the mailbox.
To close the message without performing any additional tasks, choose File, Close. Notes returns to the mailbox, and you can read other messages or exit the mailbox. To exit the mailbox, choose File, Close.
 Delete the Message
If you’re sure you do not need the message, click the Delete tool butto n to delete it.
In this lesson, you learned to open and close your mailbox and work with your mail messages displayed there. In the next lesson, you’ll learn to manage mail from the mailbox view while performing such tasks as printing and deleting messages and sa ving messages in a folder.


