


In this lesson, you learn to search for Help topics, get context-sensitive help, and get help about the task on which you’re working.
Notes provides Help from your local drive and from the server. The help you’ll most likely use is that on your local drive, which is called Help Lite because it supplies quick access to information and descriptions of the most common features you& #146;ll be using in Notes. The help you access through the server, Help, contains all of Help Lite plus more advanced subjects that deal with the network, server operation, and so on. Help and Help Lite work the same.
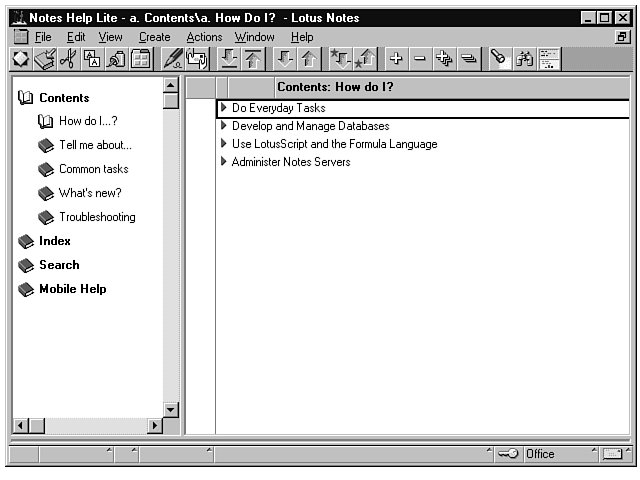
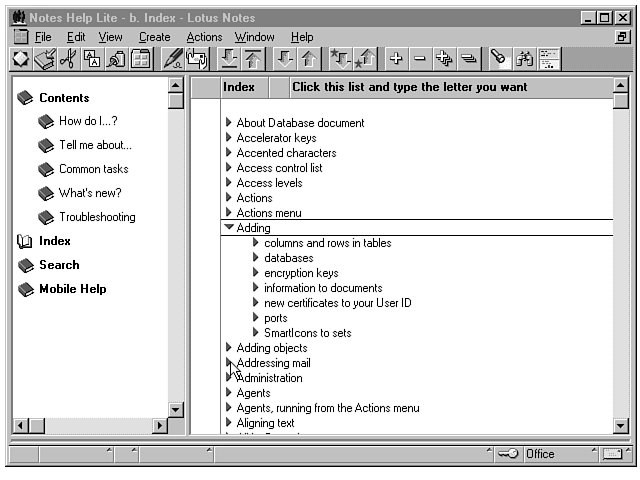
Figure 4.1 shows the Notes Help Lite window. The navigation pane (on the left side of the window) displays the types of help you can get, and the topics pane (on the right side of the window) shows specific topics.
The navigation pane lists the following types of help:
Contents Displays Help topics specific to common tasks and procedures, troubleshooting, and new features added to Notes.
Index Displays an alphabetical list of Help topics. Scroll through the list using the scroll bars, and select a topic by double-clicking it. In many cases, when you select a topic, more related topics appear in the list below it.
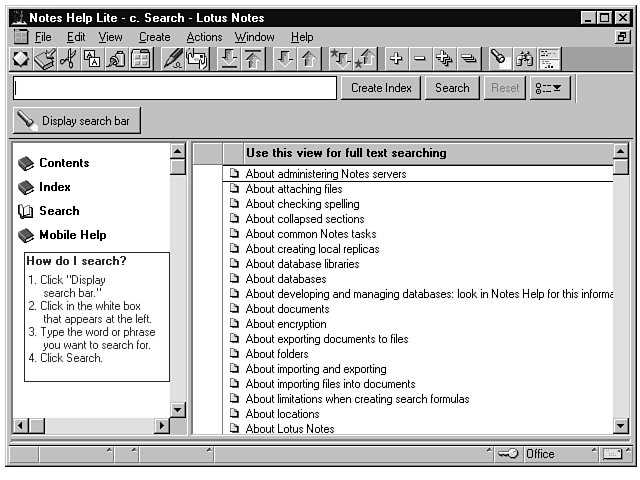
Search Displays an alphabetical list of phrases and words from which you can choose to view Help. If you prefer, you can also search for specific topics using the Search bar.
Mobile Help Displays topics about setting up Help for use on a laptop or other computer away from the network. Mobile Help usually includes such topics as using a modem, connecting to the server by phone, and replicating databases.
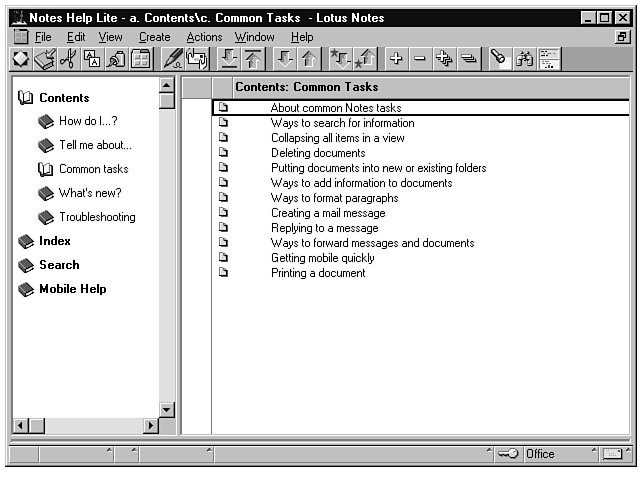
The Contents section lists several specific subject areas you can use when searching for tasks or procedures. The following list describes each item in the Contents list.
To use the Contents section of Help, follow these steps:
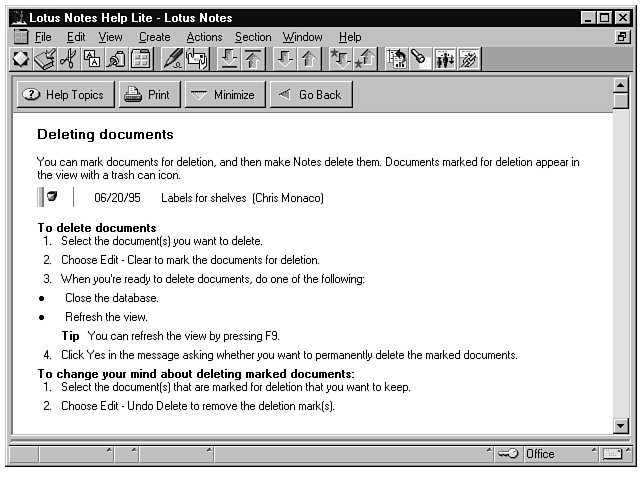
Help Topics Takes you back to the list of topics and Help types.
Print Sends the displayed Help text to the printer.
Minimize Minimizes, or reduces, the Help window to an icon on the Notes desktop. You can click the icon on the desktop to open the window again.
Go Back Takes you back to the previously viewed Help screen.
 Closing Help
Using the Help Index, you can view or search through an alphabetical list for tasks and topics. Topics are Notes features (usually nouns) such as “Databases,” “Doclinks,” “F iles,” or “Icons,” whereas tasks are actions (verbs) such as “Inserting,” “Linking,” “Moving,” and “Naming.”
After you find the task or topic in the Notes Help window, you expand it to display related topics and/or tasks. For example, if you expand “Moving,” Notes Help displays the following tasks and topics: “Among search word matches,” & #147;Around documents,” “Buttons,” “Data,” “Database icons,” “Hotspots,” “Replicator entries,” “Sections,” and “SmartIcons.” Expand any of the displayed topics or tasks to reveal s pecific documents describing how to perform a related task.
Figure 4.4 shows the Notes Help Index window. You can search for a topic in the Index window by scrolling through the topics or by using the Quick Search dialog box (as explained in the upcoming steps).
To use the Notes Help system’s Index feature, follow these steps:
Right and Down ArrowsA topic with a right-pointing arrow in front of it has related subjects within it; a down arrow indicates that all related topics are showing.
 Not Working?
If you enter two words in the Quick Search dialog box and click OK and nothing happens, the two words are not listed together in the topics list. Try entering only the first word, and if that doesn’t work, enter the second word by itsel f to find the topics you want.
You can use the Notes Search bar to help find topics and tasks. To use the Search bar, you enter a word, and Notes Help displays all topics related to that word. For example, if you enter “prin ting,” Notes displays two related topics: “Printing a list of documents in a folder or view” and “Printing to a file.” Similarly, if you enter the word “print,” Notes displays 76 related topics, including “Cropping a page,” “Numbering pages,” and “Printing a document.”
To search for a topic in Notes Help, follow these steps:

One area of Notes Help includes step-by-step procedures for such common tasks as printing, finding a document, and creating documents so you can quickly and easily complete your work. The Guide Me command on the Help menu lists the common topics that are available.
Guide Me is context-sensitive help, which means that Notes determines what type of help you need and displays only relevant, or context-sensitive, topics. If, for example, you’re in your workspace tab when you select Guide Me, Help displays topics such as “Add a workspace page,” “Delete a workspace page,” and “Switch to a different workspace page.”
The following steps walk you through using the handy Guide Me feature:
In this lesson, you learned to use the Contents, Index, and Search features of Notes’ Help system. In the next lesson, you’ll learn to open your mailbox, read your incoming mail, select messages, and view mail.